
Fast Motion Low Light Cinematography Tips for Sharper Footage
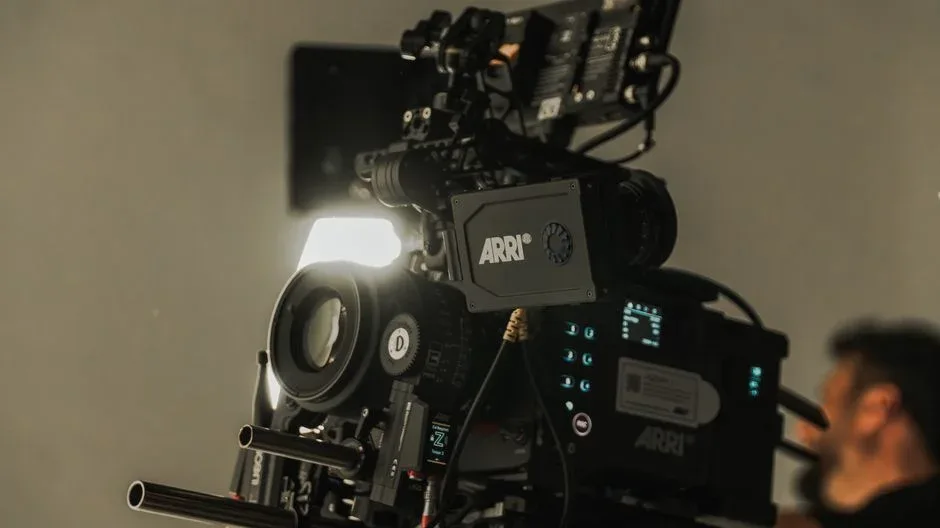
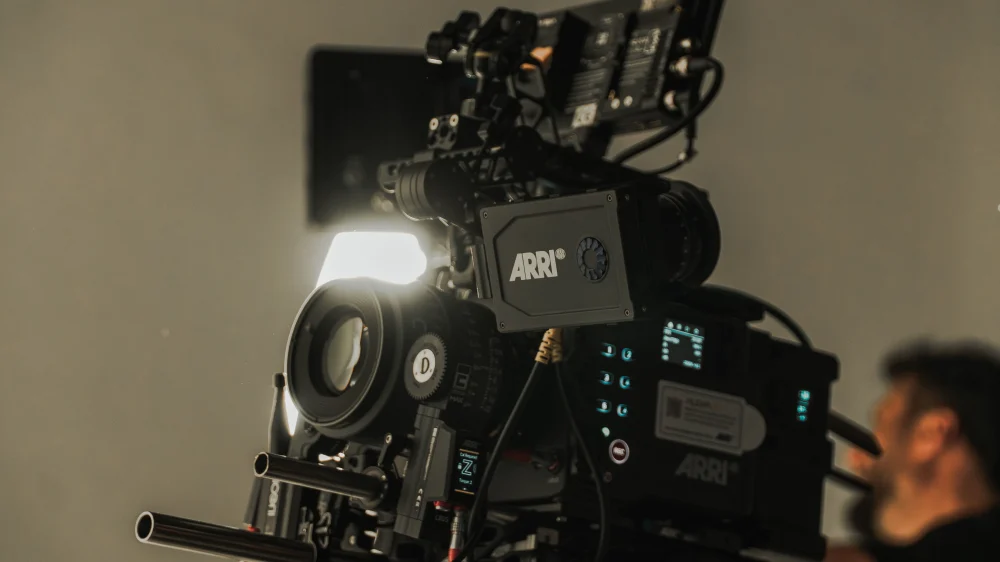
Combining fast motion with dim lighting is one of the hardest challenges in cinematography. When your subject is moving quickly and there is not enough light, getting a sharp, clean image requires careful planning and a solid understanding of your camera settings. This article gathers practical tips from experienced cinematographers and photographers that apply directly to motion picture work. Whether you are shooting a music video, a short film, or a documentary in a naturally dark environment, these guidelines will help you capture usable footage without sacrificing quality.
Understanding the Dual Challenge of Fast Motion and Low Light
In low light, your camera sensor receives less information per frame. Add fast motion, and the risk of motion blur increases dramatically. Motion blur happens when the subject moves across the frame faster than the shutter is able to freeze it. In bright conditions you can simply shorten the shutter speed or narrow the shutter angle. In darkness, that option often means an underexposed image. The key is to balance three exposure variables: aperture, shutter speed (or angle), and ISO. Each decision affects noise, depth of field, and motion rendering. To complicate matters, cinematography typically uses a fixed shutter angle (commonly 180°) to maintain natural motion blur, which limits your flexibility compared to still photography.
Key Camera Settings for Low Light Motion
Open Up Your Aperture
The most direct way to let in more light is to use a wide aperture. Fast lenses with maximum apertures such as f/1.4 or f/2.8 allow significantly more light to reach the sensor compared to slower kit lenses. Set your aperture to its widest setting (lowest f-number) when shooting in low light. This not only brightens the image but also creates a shallow depth of field, which can be a creative advantage for isolating a moving subject against a darker or softer background. Be mindful of focus accuracy at very wide apertures, as depth of field becomes razor thin.
Choose the Right Shutter Speed
For fast moving subjects, a shutter speed of at least 1/200 second is recommended to reduce motion blur. In still photography you can go even higher. In cinematography, however, shutter angle matters. A 180-degree shutter angle at 24 fps gives a shutter speed of 1/48 second, which can produce noticeable blur on rapid motion. Some cinematographers open the shutter angle to 360 degrees (shutter speed of 1/24 second at 24 fps) to let in more light, but this increases motion blur. You may need to accept some blur as a trade-off, or favour a wider shutter angle and shorter exposure if your camera allows it. Increase shutter speed as much as possible without making the image too dark.
Raise ISO Thoughtfully
Increasing ISO makes your camera’s sensor more sensitive to light, which is often necessary in dim scenes. Raise ISO only as high as you need to achieve a proper exposure, and test your camera’s limits ahead of time. Modern cameras can handle higher ISO values with less noise than older models, but noise still increases. Know your camera’s base ISO (the native sensitivity that gives the highest image quality) and try to shoot as close to it as possible. When you must push ISO, remember that grain can be used intentionally as a stylistic choice in low-light cinematography, adding a filmic texture to your footage.
Use Manual Mode for Full Control
Manual mode gives you complete authority over aperture, shutter speed, and ISO, which is essential when lighting conditions are constant. If the light changes throughout the scene, Aperture Priority mode can help maintain exposure consistency while you control depth of field. In either case, avoid letting the camera decide settings automatically, because it may introduce unwanted changes that break the look of your shot.
Choosing the Right Gear for Low Light Motion
Fast Lenses Are Your Best Investment
Prime lenses with wide maximum apertures (T1.4, T2.0, or f/1.4 in still equivalents) are ideal for low light cinematography. They collect more light than zoom lenses at the same focal length, and they often have better optical quality. While not every budget can afford cine primes, even a fast still lens with a manual aperture ring can serve well. Check that the lens mount matches your camera, and consider renting specialty glass through a peer-to-peer marketplace for short projects rather than buying.
Large Sensor Cameras Perform Better
Cameras with larger sensors, such as Super 35 or full-frame, can handle higher ISO settings with less visible noise compared to smaller sensors like Micro Four Thirds. This advantage makes them better suited for low-light work. If you own a smaller sensor camera, pay extra attention to lighting and lens speed to compensate.
Practical Techniques for Lighting and Focusing
Pre-Focus with a Flashlight
Autofocus often struggles in dim environments, especially on fast-moving subjects. A reliable workaround is to pre-focus using a flashlight. Shine the light on your subject to create contrast, lock focus manually, then turn off the light before rolling. This ensures sharp focus without relying on the camera’s contrast detection in darkness. The same technique works for manual focusing: illuminate the subject, set your focus ring, then remove the light source.
Add More Light When Possible
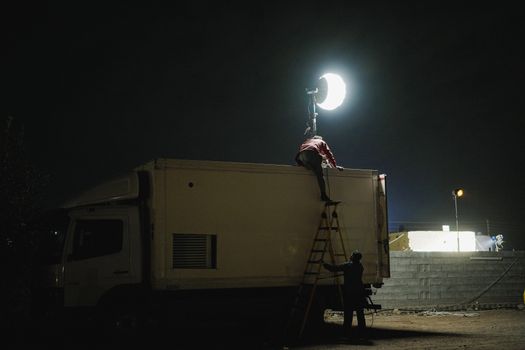
Even a small amount of additional light can make a huge difference for fast motion. Use flash (if practical for video) or off-camera lights to raise the overall illumination. A portable LED panel, a practical lamp, or a dedicated cinema light can give you enough exposure to use a faster shutter speed and lower ISO. If you cannot bring lights, position your subject closer to existing light sources such as windows, streetlights, or reflective surfaces.
Long Exposures for Creative Motion
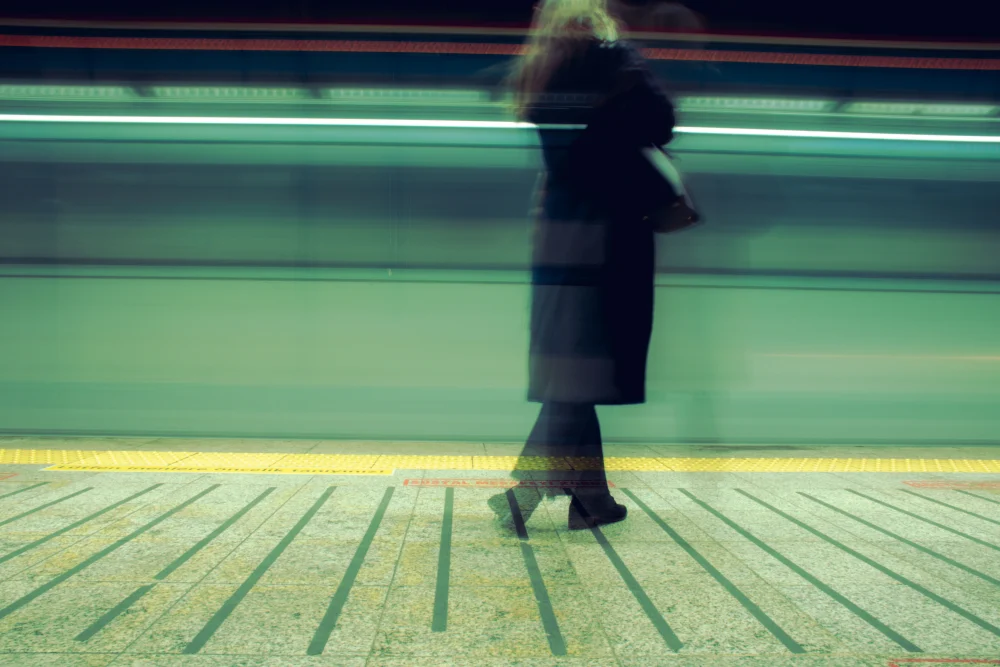
While long exposures are not typical for locking fast action, they can be used creatively to show motion in a different way. Think of silky water, light trails from moving vehicles, or ghosting effects. This technique works best on a tripod. For documentary or narrative work, a long exposure may feel out of place, but for music videos or abstract sequences it can add a surreal quality that complements low light.
Photography vs Cinematography in Low Light
Most low-light shooting advice originates from still photography, but the principles transfer directly to cinematography with one important caveat. In photography, you can freely set any shutter speed, while cinematography typically uses a fixed shutter angle to maintain the natural look of motion blur. At 24 fps, a 180-degree shutter gives a 1/48 second exposure, which is slower than the 1/200 second often recommended for freezing motion. This means that in video, motion blur is more likely even in good light. To compensate, you may need to accept a shallower depth of field or use higher ISO. The key difference is that cinematographers also control the motion cadence through frame rate, shooting at 48 fps with a 180-degree angle yields a 1/96 second shutter, which helps freeze action but consumes more light. Plan your frame rate and shutter angle before you start rolling.
Frequently Asked Questions
What is the best aperture for shooting fast action in low light?
The widest aperture your lens offers is best. Lenses with a maximum aperture of f/1.4 or f/2.8 let in the most light, which allows you to use a faster shutter speed and lower ISO. Be careful with focus at very shallow depths of field, especially on moving subjects.
Should I use a higher ISO or a wider shutter angle for low light video?
It depends on your tolerance for noise versus motion blur. Raising ISO adds noise but preserves the natural motion blur of a standard 180-degree shutter. Opening the shutter angle to 360 degrees doubles light intake but increases motion blur, which can look unnatural. Test both options on your camera to see which trade-off works for your scene.
Can I use the same low light settings for both photography and cinematography?
Many core settings are the same, but shutter speed works differently in video due to the fixed shutter angle. Photographers can choose any shutter speed to freeze motion; videographers often use a 180-degree rule, which limits flexibility. Aperture and ISO adjustments translate directly between the two mediums.
Is grain from high ISO acceptable in cinematography?
Yes, grain can be used as a creative stylistic choice. Many films intentionally add noise or shoot at a higher ISO to evoke a gritty or vintage look. As long as the grain remains consistent across shots and does not distract from the subject, it can enhance the mood of a low light scene.
Shooting fast motion in low light will always involve compromises, but with the right settings and gear you can achieve clean, sharp footage. Start with the widest aperture your lens allows, choose a shutter speed or angle that balances blur and brightness, and raise ISO only as needed. If possible, bring additional light to reduce noise and allow faster shutter speeds. Remember that every camera and lens combination behaves differently, so test your setup in similar conditions before the day of the shoot. For those in the Vancouver area, Lens Latitude offers a peer-to-peer marketplace where you can rent fast cinema primes, large sensor cameras, and lighting equipment directly from local owners, making it easier to access the tools that solve these challenges without a full purchase commitment.